Understanding macOS Screen Sharing
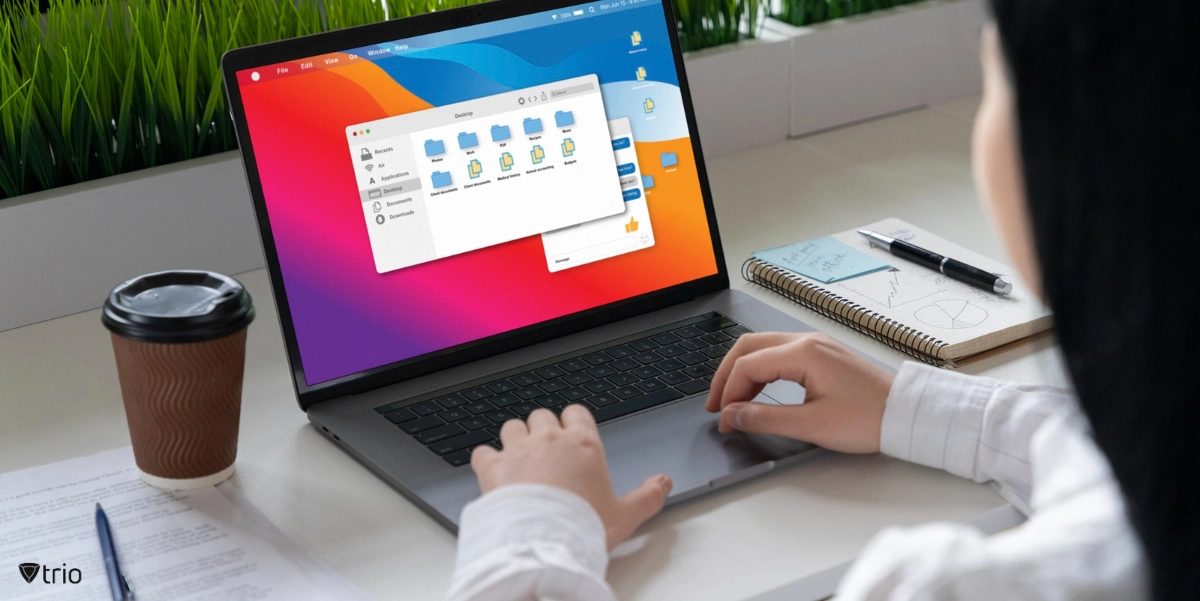
MacOS screen sharing is a built-in feature that permits IT administrators and Managed Service Providers (MSPs) to observe and manage clients' IT infrastructure, systems, and endpoints remotely. This feature is particularly useful for providing remote support, conducting virtual meetings, and overseeing IT operations without the need for physical presence.
Why Use macOS Screen Sharing?
The benefits of utilizing macOS screen sharing are multifaceted:
Improved Efficiency: Automating tasks and streamlining workflows, macOS screen sharing enables administrators to manage IT infrastructure more effectively.
Proactive Monitoring and Maintenance: Real-time monitoring and alerts allow IT teams to identify and address potential issues before they impact productivity.
Cost Savings: By reducing the need for on-site support and minimizing downtime, organizations can achieve significant savings on IT maintenance and support costs.
Enhanced Security: macOS screen sharing facilitates the monitoring of security threats, implementation of security measures, and compliance with regulatory requirements, thereby bolstering the overall security posture of the organization.
Scalability: macOS screen-sharing tools can accommodate the growing needs of organizations, whether in terms of expanding IT infrastructure or onboarding new clients.

How to Allow Screen Sharing on Mac
Enabling screen sharing on macOS is a straightforward process that revolves around the System Preferences. Here's a step-by-step guide:
- Access System Preferences: Click on the Apple menu located at the top-left corner of the screen and select "System Preferences."
- Navigate to Sharing Preferences: From the System Preferences window, select "Sharing".
- Enable Screen Sharing: On the left-hand side of the Sharing window, you'll see a list of services. Click the checkbox next to "Screen Sharing" to enable this feature.
Fine-Tuning Screen Sharing Permissions on Mac
Once you've enabled screen sharing, it's crucial to set up permissions correctly to maintain control over who can access your screen.
- Disable Remote Management: If "Remote Management" is turned on, ensure it's disabled to allow screen sharing to function correctly.
- Configure Access Settings: In the "Allow Access for" section, select either "All Users" or "Only These Users". If you choose the latter, click the "+" icon and add the users to whom you want to grant screen sharing permissions.
- Set Up Screen Control Permissions: Click on "Computer Settings" and select your preferred method for how you want users to request permission to control your screen.
How to Share Your Screen Remotely on macOS
Once the screen-sharing feature is enabled and permissions are set up, you can start a screen-sharing session. Here's how:
- Initiate Screen Sharing: Use the Spotlight search (Command + Space) and type "screen sharing." Double-click the icon that appears to launch the feature.
- Enter the Apple ID of the Other Mac: In the dialogue box that appears, enter the Apple ID of the Mac you wish to access.
- Accept the Invitation: The user of the other Mac will receive a notification. They should click "Accept" to allow the screen-sharing session to begin.
- Choose Screen Control Option: A new window will appear, asking you to choose between "Control My Screen" and "Observe My Screen." Select the preferred option based on whether you just want to view the screen or take control.
macOS Screen Sharing with FaceTime
- Start a FaceTime Call: Initiate or join a FaceTime call.
- Open the Control Panel: Click the FaceTime icon in the menu bar to open the control panel.
- Select Screen Share: Click the "Screen Share" button.
- End Screen Sharing: When you're finished, click on the FaceTime icon once again and click the "Stop Sharing" button.

Alternative Methods for macOS Screen Sharing
In addition to the built-in macOS screen sharing and FaceTime features, there are other ways to share your screen on macOS:
Accessing a Mac via iMessage
iMessage allows you to share your screen with another iMessage user. This can be particularly useful if you want to show a problem you’re encountering with an app or share something fun with your friends.
Enabling Screen Sharing on Mac via AirPlay
AirPlay can be used to share screens on a Mac. AirPlay allows wireless audio and video streaming from Mac to Apple TV or other compatible devices.
Remote Access a Mac Using Chrome Remote Desktop
If you have a Google account, you can use Google's Chrome Remote Desktop tool to share your Mac screen. This tool is available on any device running a Chrome browser.
Introducing MDM Solutions for Ultimate Remote Access
While macOS screen sharing offers a robust solution for remote access, integrating it with Mobile Device Management (MDM) solutions can take your remote management capabilities to another level. MDM solutions, such as Trio, specialize in managing and securing mobile devices, enforcing security policies, and controlling access to corporate resources.
Using Trio's MDM solution, IT administrators can remotely manage, control, and secure their organization's mobile devices, thereby enhancing their control over their digital ecosystem. By integrating macOS screen sharing with Trio's MDM solution, your organization can achieve superior visibility, control, and security across its entire IT environment.
If you’re looking for a simple and scalable MDM solution for your organization, we recommend you try out Trio’s free demo.
macOS Screen Sharing: Conclusion
Get Ahead of the Curve
Every organization today needs a solution to automate time-consuming tasks and strengthen security.
Without the right tools, manual processes drain resources and leave gaps in protection. Trio MDM is designed to solve this problem, automating key tasks, boosting security, and ensuring compliance with ease.
Don't let inefficiencies hold you back. Learn how Trio MDM can revolutionize your IT operations or request a free trial today!


